At a Glance: What You’ll Find in This Guide
This blog provides a comprehensive step-by-step kitchen remodelling guide tailored for Singapore homes. You’ll discover how to navigate planning, budgeting, design, and renovation, as well as tips on working with professionals, selecting materials, and managing timelines for a successful, stress-free kitchen transformation. The FAQs tackle common questions about costs, timelines, and design choices, helping you prepare confidently for your next kitchen project.From Concept to Completion: A Step-by-Step Guide to Your Kitchen Remodel
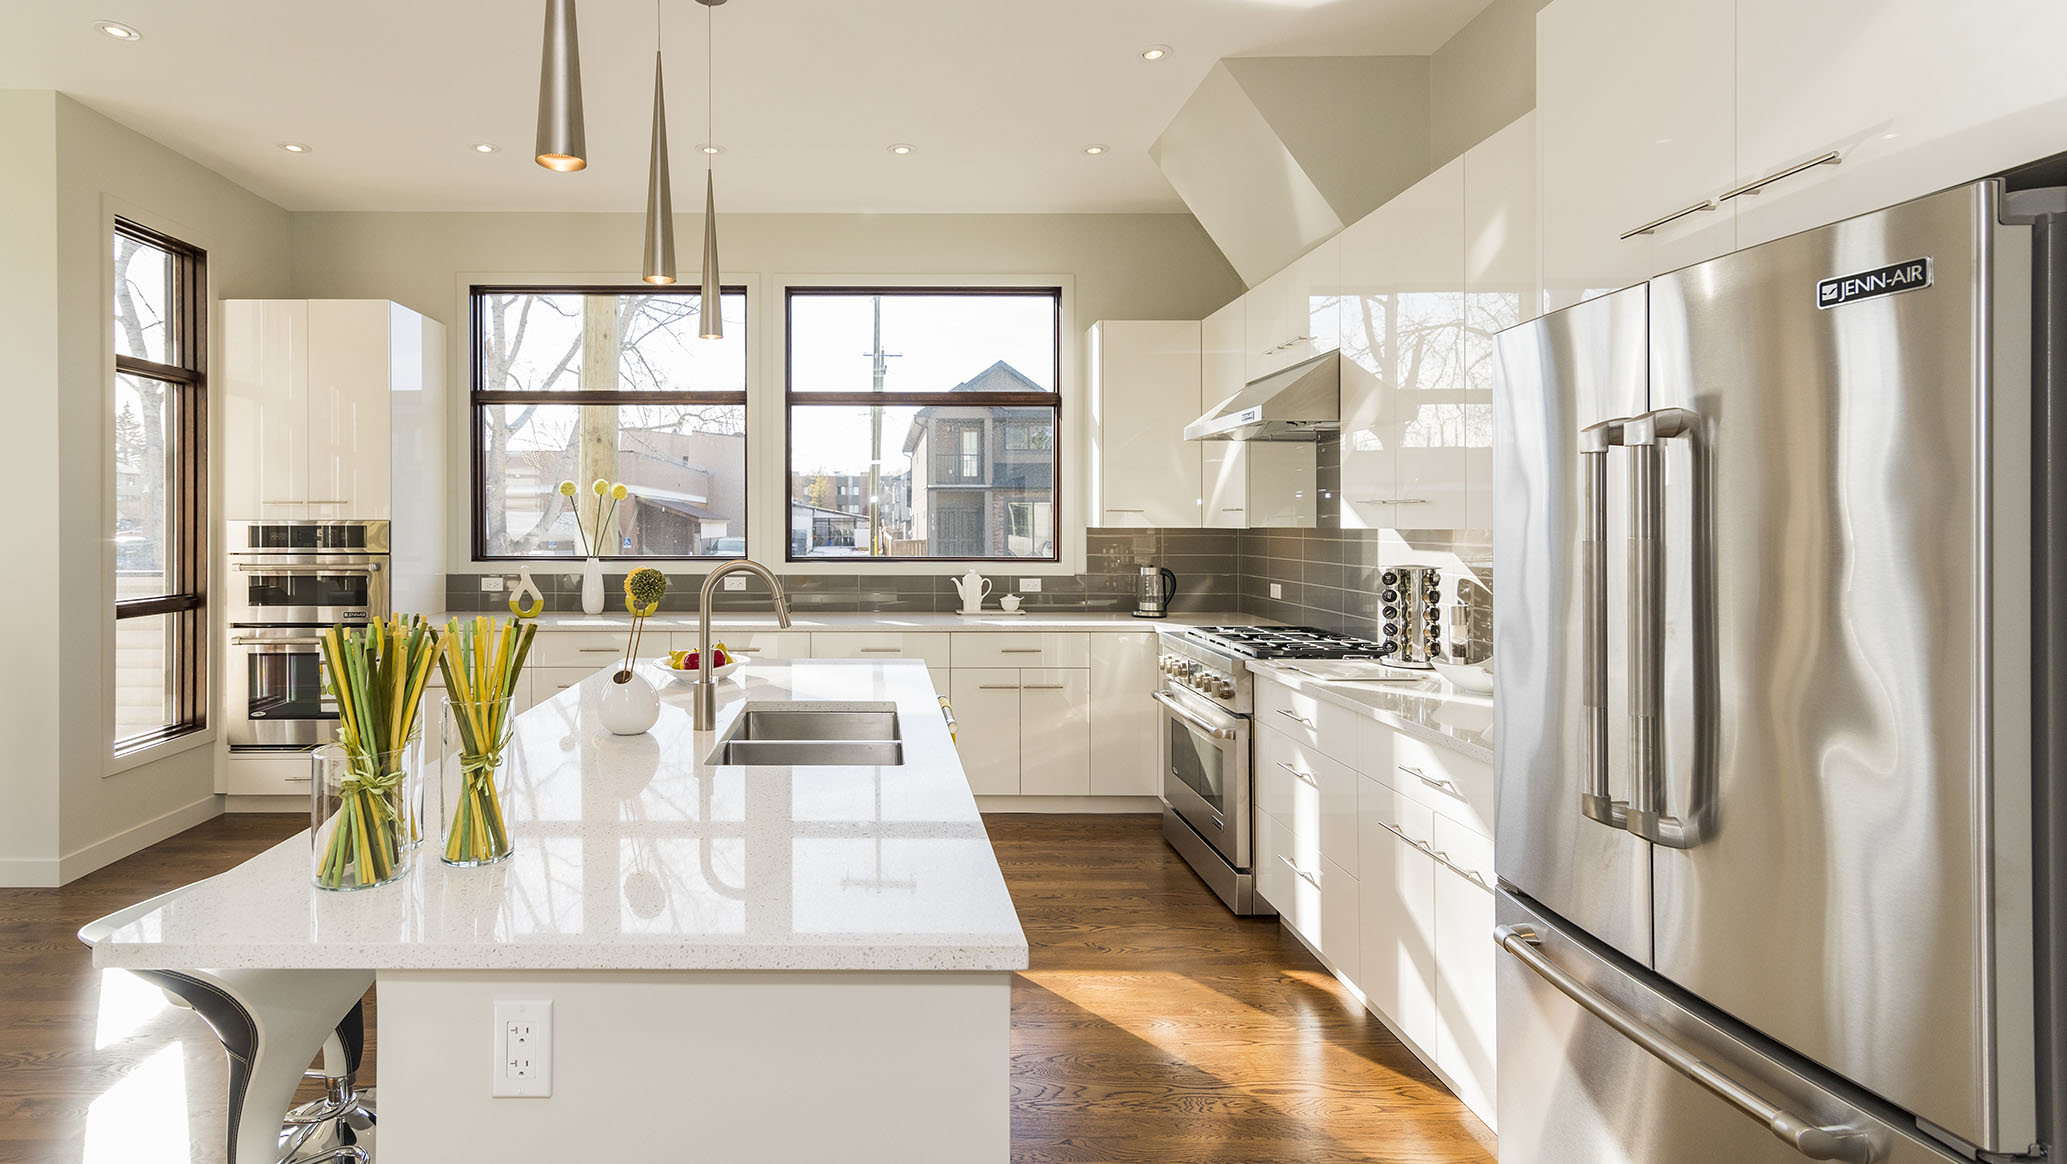
The kitchen is the undisputed heart of every home—a space for creativity, family gatherings, and daily rituals. Yet, many Singapore households still deal with boxy, outdated kitchens that don’t cater to modern lifestyles. A thoughtful kitchen remodelling project can completely transform both the look and function of your most-used room, whether you’re working with a compact HDB or a spacious landed property. But how do you move from initial ideas to a beautiful, fully finished space? Here’s a practical, step-by-step guide for kitchen remodelling, designed with the unique needs of Singaporean homeowners in mind.Step 1: Defining Your Vision and Goals
Every successful kitchen remodel begins with clarity. Ask yourself:- What’s missing in your current kitchen?
- Do you need more storage? A better cooking flow? Room for entertaining?
- Are you updating purely for aesthetics, or do you need a functional overhaul?
- Demolition and preparation work
- Structural changes (if any)
- Carpentry, cabinetry, and countertops
- Appliances and fixtures
- Flooring and tiling
- Plumbing and electrical upgrades
- Painting and finishing

Step 3: Planning the Layout
A good kitchen design focuses on efficient movement and clever storage. Consider these classic layouts:- Single-wall (best for compact studios)
- Galley (efficient for small HDB kitchens)
- L-shaped (popular for open-plan living)
- U-shaped (maximises storage and work zones)
- Peninsula or island (ideal for larger spaces and social kitchens)
- Local HDB/condo experience
- Proven references and a solid portfolio
- Clear communication and transparent quotations
Step 5: Selecting Materials and Appliances
Material selection is where style and practicality meet. Some key points:- Cabinetry: Opt for moisture-resistant materials, especially for the humid Singapore climate. Laminates, plywood, and PVC are popular choices.
- Countertops: Quartz and granite are durable and elegant, while solid surface tops offer budget-friendly versatility.
- Splashbacks: Glass, tiles, or stainless steel are easy to clean and add visual impact.
- Flooring: Choose slip-resistant tiles or vinyl for safety and ease of maintenance.
- Fixtures: Consider mixer taps, deep sinks, and built-in dish drainers to streamline your workflow.

Step 6: Approvals and Scheduling
For HDB flats, you’ll need:- Renovation permits
- Registered contractors (HDB-licensed)
- Strict adherence to noisy work hours and approved plans
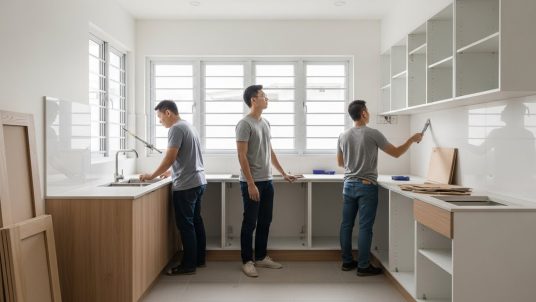
Step 7: Demolition and Site Preparation
With approvals in hand, your contractor begins site works:- Clearing out the old kitchen
- Protecting flooring and adjacent rooms from dust and debris
- Inspecting for underlying issues (wiring, leaks) that may require rectification
Step 8: Structural and Systems Work
Any foundational changes, such as moving walls, repositioning plumbing, or upgrading wiring, happen now. In Singapore’s HDBs and condos, many structural works are restricted, so always check guidelines and work with qualified professionals. Systems upgrades also include:- New lighting points or power sockets
- Water heater or gas line installation
- Plumbing for dishwashers or filtered taps
Step 9: Carpentry, Tiling, and Surface Finishes
Now the transformation comes alive:- Carpentry teams install new cabinets, countertops, and storage features
- Tilers lay splashbacks and flooring
- Painters refresh walls and ceilings
Step 10: Installing Fixtures and Appliances
With the main structure in place, your team will fit:- Lighting fixtures (downlights, pendant lamps, under-cabinet strips)
- Sinks, taps, and hardware
- The hob, oven, hood, fridge, dishwasher, and other appliances
Step 11: Final Checks and Styling
A thorough inspection ensures your kitchen is:- Safe (well-installed appliances, no leaks or exposed wiring)
- Practical (cabinet doors and drawers open smoothly, lighting is sufficient)
- Spotless and ready for use
Step 12: Handover and Maintenance
When everything is complete, your contractor or designer should walk you through:- Maintenance tips for different materials
- Proper use of appliances and fittings
- Warranties and after-sales support